Did you decide to purchase NordVPN? Do you wonder: How To Use NordVPN With Windows?
In this article we will show you step by step how to make a purchase of new NordVPN subscription, set up account and start using NordVPN software! After guide we will answer some questions regarding using an VPN app.
Table of Contents
Here is how to purchase a NordVPN subscription
- Start by visiting NordVPN website, you can click here.
- Click on pricing tab at the top of the page, here you can see current plans, pricing and deals. Choose which NordVPN plan you prefer to purchase and then click “Get *name of the plan* button.
Click here to get -65% NordVPN Deal!
You can choose between standard plan (pure NordVPN service) or other plans that comes with NordPass or NordLocker services.
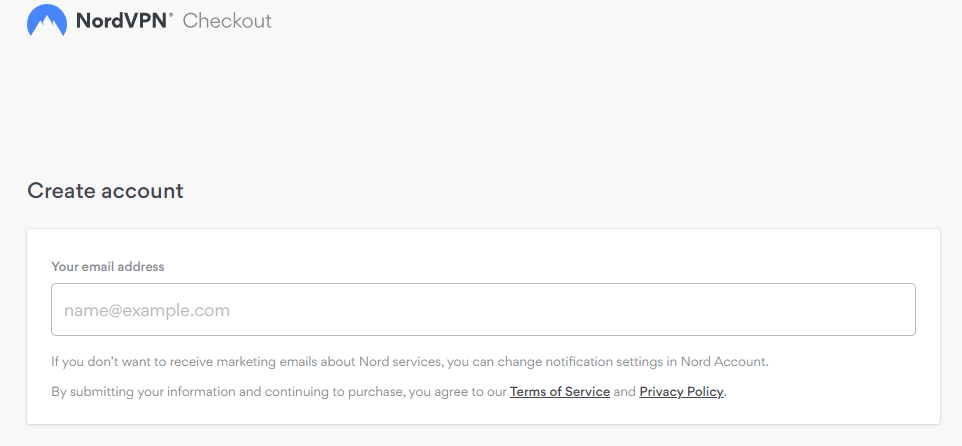
- Now you have to type your email adress that you will be using NordVPN with.
- Now you have to choose payment method which you want to use, and proceed with it.
- Well done! If you followed this guide nicely you purchased NordVPN subscription! Look at your email inbox, here you will find purchase confirmation email.
Now download NordVPN APP and start using it
After purchasing your VPN plan, head to this page to download the NordVPN app
Now you can click start and enjoy using VPN!
Click here to get -65% NordVPN Deal!
1. Download the Cisco AnyConnect client from https://www.ucop.edu/information-technology-services/_files/software/cisco-anyconnect-secure-mobility-client.html and save it to your device
2. Once the download is complete, open the file and follow the instructions to install the software
3. After installation is complete, launch the program by searching for “Cisco AnyConnect” in your start menu
4. In the “Choose a Connection” dropdown, select UCOP VPN and click “Connect”
5. When prompted, enter your UCOP login credentials (i.e.,[email protected]) and password
6. Once connected, you will be able to access all of the network resources available to you as if you were on campus
Worth knowing
Getting Started
To get started, head over to the VPN Unlimited website and sign up for an account. Once you’ve done that, download the appropriate client for your devices. For this guide, we’ll be using the Windows client.
Once you’ve installed the client, launch it and log in with your credentials. Now you should see the main window of the app which will show all of the available servers. Select the server that you want to connect to and click “Connect”.
Now that you’re connected, you can browse the web as usual. All of your traffic will now be encrypted and routed through the VPN server so your ISP won’t be able to track what sites you’re visiting or collect data about your online activity.
And that’s all there is to it! Using a VPN is a great way to improve your online privacy and security but it’s important to choose a reputable provider like VPN Unlimited who offer high-quality apps and robust security features.
Worth knowing
Windows Firewall: This service helps to protect your computer from unauthorized access by filtering incoming and outgoing traffic. It can also block certain types of traffic, such as malicious code or unwanted advertisers.
Windows Update: This service provides security patches and updates for Windows, which helps to keep your system safe from attack.
Internet Connection Sharing: This service allows you to share your internet connection with other computers on your network. This can be useful if you want to connect to a VPN from multiple devices.
Routing and Remote Access Service: This service provides the ability to connect to a VPN over the internet. It can also be used to securely connect two networks together (known as site-to-site VPN).
Worth knowing
