Did you decide to purchase NordVPN? Do you wonder: How To Setup NordVPN On Kodi?
In this article we will show you step by step how to make a purchase of new NordVPN subscription, set up account and start using NordVPN software! After guide we will answer some questions regarding using an VPN app.
Table of Contents
Here is how to purchase a NordVPN subscription
- Start by visiting NordVPN website, you can click here.
- Click on pricing tab at the top of the page, here you can see current plans, pricing and deals. Choose which NordVPN plan you prefer to purchase and then click “Get *name of the plan* button.
Click here to get -65% NordVPN Deal!
You can choose between standard plan (pure NordVPN service) or other plans that comes with NordPass or NordLocker services.
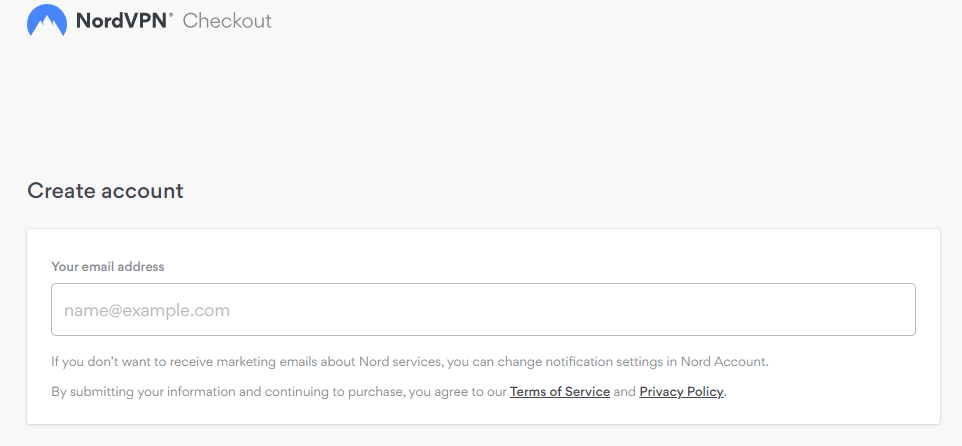
- Now you have to type your email adress that you will be using NordVPN with.
- Now you have to choose payment method which you want to use, and proceed with it.
- Well done! If you followed this guide nicely you purchased NordVPN subscription! Look at your email inbox, here you will find purchase confirmation email.
Now download NordVPN APP and start using it
After purchasing your VPN plan, head to this page to download the NordVPN app
Now you can click start and enjoy using VPN!
Click here to get -65% NordVPN Deal!
Let’s get back to answering your questions:
Adding OpenVPN to Kodi is simple and only takes a few minutes. Here’s how:
1. Download the OpenVPN configuration files from your VPN provider. Make sure to save them in a location that you’ll remember.
2. Launch Kodi and go to Add-ons > My add-ons > VPN Manager for OpenVPN.
3. Click on ‘Add new VPN profile’. This will open the settings window for VPN Manager.
4. In the settings window, select ‘Import file…’ from the drop-down menu next to ‘Profile’. Navigate to the folder where you saved the OpenVPN configuration files and select one of them. The other file(s) will be imported automatically depending on which protocol(s) your VPN provider uses (UDP or TCP).
5 Enter your VPN credentials in the ‘Username’ and ‘Password’ fields (these are usually provided by your VPN provider). If you want, you can also change the ‘Connection name’ field to something more descriptive like “My VPN Provider”.
6 Select OK once you’re finished filling out the fields. The new profile should now appear in the list of profiles under ‘Profiles’.
7 To connect to your VPN, simply click on its name in the list of profiles and then click on Connect in the bottom right corner of Kodi
Worth knowing
Worth knowing
There are two ways to add a VPN to Kodi: using a pre-configured VPN addon or manually configuring the built-in OpenVPN support. We’ll cover both methods below.
Using a VPN Addon
If you want an easy way to add a VPN to Kodi, then using a pre-configured addon is the way to go. There are several good options available, but we recommend IPVanish because it’s one of the few that offers consistently fast speeds and reliable connections. Plus, it has a user-friendly interface that makes it easy to get started with Kodi VPNs. Here’s how to install and use IPVanish on Kodi:
1) Download the IPVanish addon from here and save it somewhere on your device.
Worth knowing
