Did you decide to purchase NordVPN? Do you wonder: How To Connect To Different Servers NordVPN?
In this article we will show you step by step how to make a purchase of new NordVPN subscription, set up account and start using NordVPN software! After guide we will answer some questions regarding using an VPN app.
Table of Contents
Here is how to purchase a NordVPN subscription
- Start by visiting NordVPN website, you can click here.
- Click on pricing tab at the top of the page, here you can see current plans, pricing and deals. Choose which NordVPN plan you prefer to purchase and then click “Get *name of the plan* button.
Click here to get -65% NordVPN Deal!
You can choose between standard plan (pure NordVPN service) or other plans that comes with NordPass or NordLocker services.
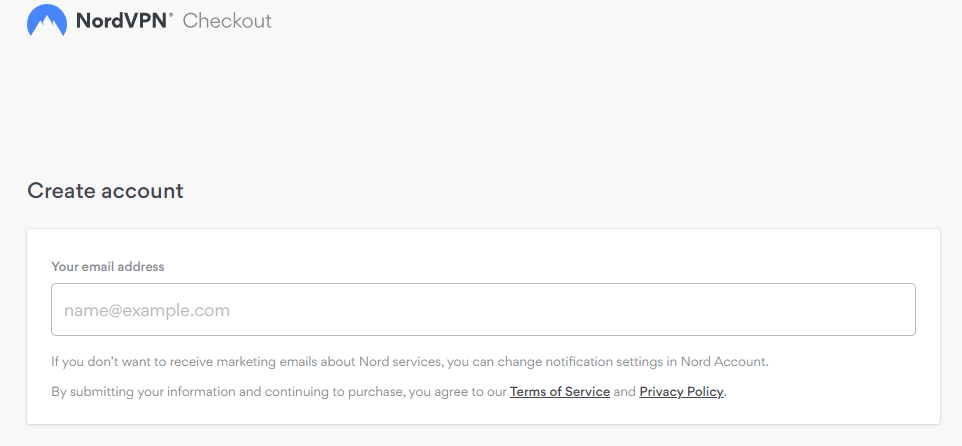
- Now you have to type your email adress that you will be using NordVPN with.
- Now you have to choose payment method which you want to use, and proceed with it.
- Well done! If you followed this guide nicely you purchased NordVPN subscription! Look at your email inbox, here you will find purchase confirmation email.
Now download NordVPN APP and start using it
After purchasing your VPN plan, head to this page to download the NordVPN app
Now you can click start and enjoy using VPN!
Click here to get -65% NordVPN Deal!
Let’s get back to answering your questions:
Worth knowing
Go to the Network and Sharing Center.
In the left pane, click Change adapter settings.
Right-click your VPN connection and click Properties.
At the VPN properties, click the Networking tab.
In the list of networking protocols, double-click Internet Protocol Version 4 (TCP/IPv4).
Click the radio button next to Use the following DNS server addresses.
In the Preferred DNS server field, enter the address of your local DNS server.
Click OK to save your changes.
Worth knowing
Host Name or IP Address: The address of your VPN server
User Name: Your VPN username
Password: Your VPN password
encryption level : Select “3DES” from the drop-down menu
Now click “Add”. Your Cisco phone will now be connected to the VPN!
Worth knowing
There are many different VPN providers available, each with their own Pros and Cons. Some are free while others require a subscription. It’s important to choose a reputable provider that offers robust security features and fast speeds.
Once you’ve chosen a provider, connect to the VPN by following these steps:
1) Open the VPN app or client and sign in with your credentials.
2) Choose a server location — this will determine what IP address is assigned to your device. Selecting a server in a different country will allow you to bypass restrictions based on your location.
3) Connect to the server by clicking the “Connect” button. Your device will now appear as if it’s browsing from the selected location.
4) To disconnect from the VPN, simply click the “Disconnect” button within the app or client
