Did you decide to purchase NordVPN? Do you wonder: How Set Up Your Att Router For NordVPN?
In this article we will show you step by step how to make a purchase of new NordVPN subscription, set up account and start using NordVPN software! After guide we will answer some questions regarding using an VPN app.
Table of Contents
Here is how to purchase a NordVPN subscription
- Start by visiting NordVPN website, you can click here.
- Click on pricing tab at the top of the page, here you can see current plans, pricing and deals. Choose which NordVPN plan you prefer to purchase and then click “Get *name of the plan* button.
Click here to get -65% NordVPN Deal!
You can choose between standard plan (pure NordVPN service) or other plans that comes with NordPass or NordLocker services.
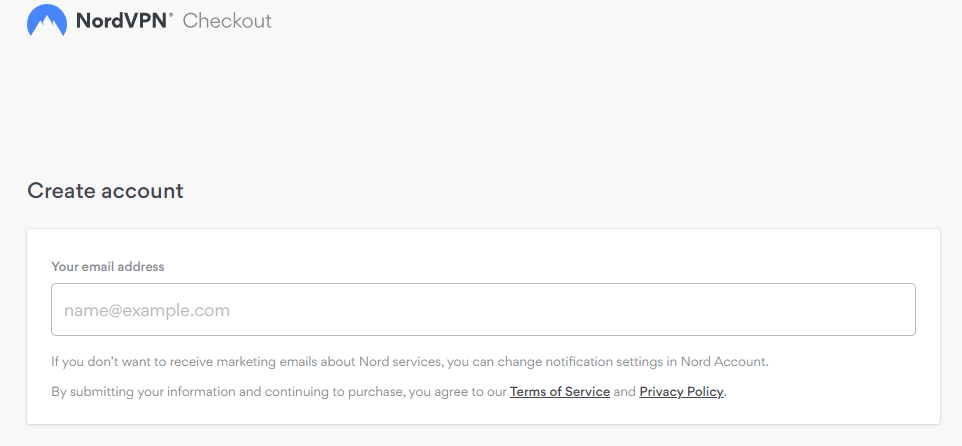
- Now you have to type your email adress that you will be using NordVPN with.
- Now you have to choose payment method which you want to use, and proceed with it.
- Well done! If you followed this guide nicely you purchased NordVPN subscription! Look at your email inbox, here you will find purchase confirmation email.
Now download NordVPN APP and start using it
After purchasing your VPN plan, head to this page to download the NordVPN app
Now you can click start and enjoy using VPN!
Click here to get -65% NordVPN Deal!
Let’s get back to answering your questions:
Worth knowing
If you’re not familiar with VPNs, they are simply networks that allow for secure and private browsing by encrypting data that is sent and received online. This means that all of the data passing through the VPN is protected from being intercepted by anyone who might be snooping around. Usually, in order to set up a VPN on any device, including a router, you’ll need an account with a VPN provider.
Once you have an account set up, configuring your router will vary depending on which protocol you want to use and what kind of equipment your provider has given you. In most cases though, it should be relatively straightforward - especially if your provider offers customer support in case anything goes wrong! Finally, remember that flashing your router’s firmware voids its warranty - so only do this if absolutely necessary and if you know what you’re doing!
Worth knowing
Worth knowing
If you’re using an Android device, the first thing you’ll need to do is download the NordVPN app from the Google Play Store. Once it’s installed, launch the app and log in with your credentials. Once you’re logged in, tap on the ‘Settings’ icon in the top-right corner of the screen.Scroll down to the ‘Connection Type’ section and select ‘IKEv2/IPsec’. Now, scroll down to the ‘Country’ section and select which country you’d like to connect to. Tap ‘OK’ to save your changes.
Now that everything is configured, go back to the main screen of the app and tap on the ‘Connect’ button. The app will now establish a connection with NordVPN’s servers and encrypt all of your traffic. That’s it! You’re now connected to NordVPN and can start browsing securely & anonymously.
If you’re using an iOS device (iPhone or iPad), setting up NordVPN is even easier as there is no need to download any additional apps - just head over to Settings > General > VPN > Add VPN Configuration Select ‘IKEv2/IPsec’ as your connection type and enter https://nordvpn into the Server field Enter your NordVPN username & password into Username & Password fields respectively Leave Local ID blank Tap Done You will now see NordVPNs profile listed under VPN configurations
Enable it by tapping on Status switch Turn IKEv2 On Dream Machine Pro Quit System Preferences Return Launch Safari Or any other browser Since Safari is already running exit out Simply reconnecting should suffice Verify IP address at ipleak dot net Check protocol at whatismyipaddress dot com We are running IKEv2 protocol Also notice our location which should reflect decided upon Country Lastly return again Go To System Preferences Network Click Disconnect button next Toactive VPN profile Configuring Authentication After verifying necessary components quit out Of Skitch Import cacert zip file Again open Terminal Type SudoSecurity Add–trusted–cert -k /Library/Keychains/System , drag And drop GeoTrustGlobalCA cer Into terminal window hit EnterDrag And drop GlobalSignRootCAR2
