Did you decide to purchase NordVPN? Do you wonder: How Do I Use NordVPN In Usa?
In this article we will show you step by step how to make a purchase of new NordVPN subscription, set up account and start using NordVPN software! After guide we will answer some questions regarding using an VPN app.
Table of Contents
Here is how to purchase a NordVPN subscription
- Start by visiting NordVPN website, you can click here.
- Click on pricing tab at the top of the page, here you can see current plans, pricing and deals. Choose which NordVPN plan you prefer to purchase and then click “Get *name of the plan* button.
You can choose between standard plan (pure NordVPN service) or other plans that comes with NordPass or NordLocker services.
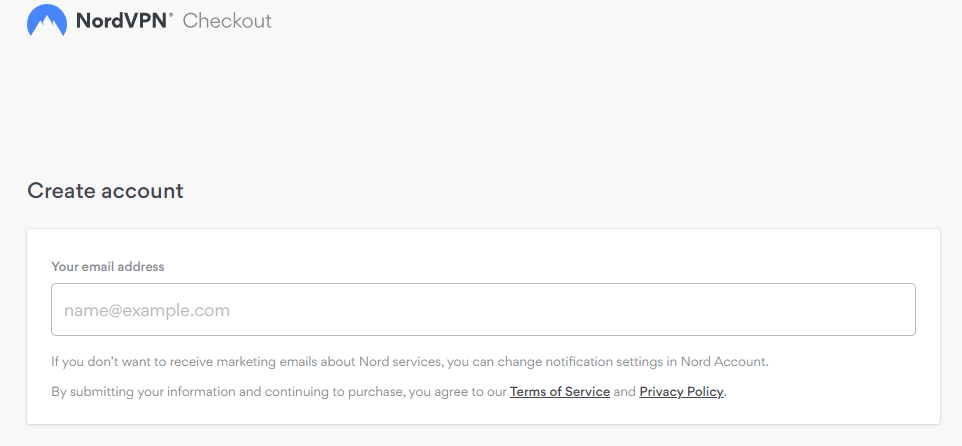
- Now you have to type your email adress that you will be using NordVPN with.
- Now you have to choose payment method which you want to use, and proceed with it.
- Well done! If you followed this guide nicely you purchased NordVPN subscription! Look at your email inbox, here you will find purchase confirmation email.
Now download NordVPN APP and start using it
After purchasing your VPN plan, head to this page to download the NordVPN app
Now you can click start and enjoy using VPN!
Click here to get the Best NordVPN Deal! 🔥Let’s get back to main question, How Do I Use NordVPN In Usa?
Before we get started, it’s worth mentioning that NordVPN offers a free 3-day trial so you can test out the service before committing to a subscription. With that said, let’s take a look at how to use NordVPN in USA.
How to Use NordVPN in USA – Step by Step Guide
To get started using NordVPN in USA, just follow these simple steps:
1) First things first, head over to the NordVPN website and sign up for an account. Be sure to enter a valid email address as you’ll need it to log in and activate your account later on.
2) Once you have an account, download and install the official NordVPN app on your Windows PC or Mac from here. For mobile devices (Android & iOS), head over to your respective app store and search for “NordVPN” –download and install the app from there. Launch the app once it has been installed successfully.
3) When prompted, enter your registered email address and password then click on the “Login” button top of screen seen below picture .
4) After logging in successfully , You will now be taken into main window of application whereServer locations are displayed country tabs across globe with number of available servers shown beneath each one split between ‘Load’ (red), ‘Medium Load'(yellow) ,and ‘Low Load'(green).Select any location which has GREEN/YELLOW mark under LOAD category US server list recommended as default selection If desired 5)From this main window ,you can also Minimize application To System Tray By Clicking On Arrow pointing downward button present beside Country Tabs As seen Below Picture Which is useful if want keep running program backround without seeing User Interface all time
6) Now coming back towards Setting Up Of Connection ,Once Again Select Any Green Or Yellow server From The Server List As per Your Requirement And Click On CONNECT Button present just beside it .You Are Now Successfully Connected with VPN Server as Seen By Key Icon Present In Top Right Corner Beside Country Tabs Which Also Displays Your Current IP Address As well As Location You Are Connected To If successful ,A small dialogue box openupsays “You Are Now Protected” message will appear with timestamp detailing when protection commenced 7))After Connection Is Set Up Properly Rest Of The Work Is Done Automatically By Application Itself i )All traffic FROM NOW WILL BE ROUTED THROUGH SECURE servern chosen ii )All applications Will Use This Newly configured Network Settings meaning even those not designed work with proxy’s or VPN’s benefit added security 8))That’s All Bolgs Readers Its Quite Simple Steps Followed In Order Use This Service Though Developers Make It More Easier Users Some important benefits due using VPN services like horse are discussed down article Hope Helpful !! Stay Safe :
Worth knowing
First and foremost, it’s important to make sure that your VPN is allowed by your ISP. Some ISPs will block or throttle VPN traffic, which can impact your ability to download files quickly (or at all).
Second, be aware that some torrent sites may be blocked by your VPN provider. This isn’t always the case, but it’s something to keep in mind. If you’re having trouble accessing a particular torrent site, you may need to switch providers.
Finally, remember that while Torrenting is perfectly legal in the US, many copyrighted works are shared via BitTorrent. So if you’re downloading anything that might be protected by copyright law, use caution and proceed at your own risk.
Worth knowing
Worth knowing
