Did you decide to purchase NordVPN? Do you wonder: How Do I Turn On Vpn On NordVPN?
In this article we will show you step by step how to make a purchase of new NordVPN subscription, set up account and start using NordVPN software! After guide we will answer some questions regarding using an VPN app.
Table of Contents
Here is how to purchase a NordVPN subscription
- Start by visiting NordVPN website, you can click here.
- Click on pricing tab at the top of the page, here you can see current plans, pricing and deals. Choose which NordVPN plan you prefer to purchase and then click “Get *name of the plan* button.
You can choose between standard plan (pure NordVPN service) or other plans that comes with NordPass or NordLocker services.
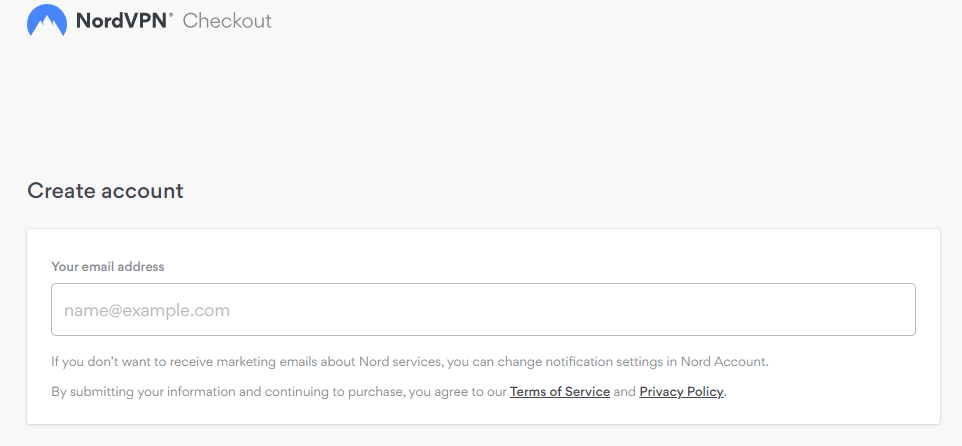
- Now you have to type your email adress that you will be using NordVPN with.
- Now you have to choose payment method which you want to use, and proceed with it.
- Well done! If you followed this guide nicely you purchased NordVPN subscription! Look at your email inbox, here you will find purchase confirmation email.
Now download NordVPN APP and start using it
After purchasing your VPN plan, head to this page to download the NordVPN app
Now you can click start and enjoy using VPN!
Click here to get the Best NordVPN Deal! 🔥Let’s get back to main question, How Do I Turn On Vpn On NordVPN?
1) Download and install the NordVPN app for your Windows device.
2) Once the installation is complete, launch the NordVPN app and log in with your credentials.
3) On the main screen of the app, click on the ‘Country’ tab and select the country you want to connect to from the list. Alternatively, you can also search for a specific country by clicking on the search icon.
4) Once you have selected a country, click on the ‘Connect’ button. The app will now start establishing a connection with the VPN server in your selected country.
5) Once the connection is established, you will see a notification informing you that you are now connected to NordVPN. You can also verify your IP address by visiting an online IP checker website such as ipinfo.io – your IP address should now match that of your chosen country.
Worth knowing
Worth knowing
First, make sure you have a VPN service set up. There are many reputable providers out there, so do some research to find one that best suits your needs. Once you have a provider, sign up for an account and then download their VPN software.
Next, open Chrome and head to the settings menu by clicking on the three dots in the upper-right corner of the browser window. Then click on “Advanced” and select “VPN.”
Now, click on the blue “Enable” button next to “VPN.” A new window will pop up asking you to choose a provider. Select your provider from the list and then enter your login credentials when prompted.
Once you’re logged in, you’ll see a little VPN icon next to your address bar indicating that the VPN is active. That’s it! You’re now browsing with increased privacy thanks to your new VPN connection.
Worth knowing
The second step is to see if there’s a way to bypass the proxy. This can be done by adding an exception to your browser’s settings or connecting directly to the IP address of the site or service you’re trying to use.
If neither of these options work, it’s possible that the site or service itself is blocking connections from outside its network. In this case, you’ll need to contact the site or service administrator and ask them to whitelist your IP address.
