Did you decide to purchase NordVPN? Do you wonder: Can You Put NordVPN On Chromebook?
In this article we will show you step by step how to make a purchase of new NordVPN subscription, set up account and start using NordVPN software! After guide we will answer some questions regarding using an VPN app.
Table of Contents
Here is how to purchase a NordVPN subscription
- Start by visiting NordVPN website, you can click here.
- Click on pricing tab at the top of the page, here you can see current plans, pricing and deals. Choose which NordVPN plan you prefer to purchase and then click “Get *name of the plan* button.
You can choose between standard plan (pure NordVPN service) or other plans that comes with NordPass or NordLocker services.
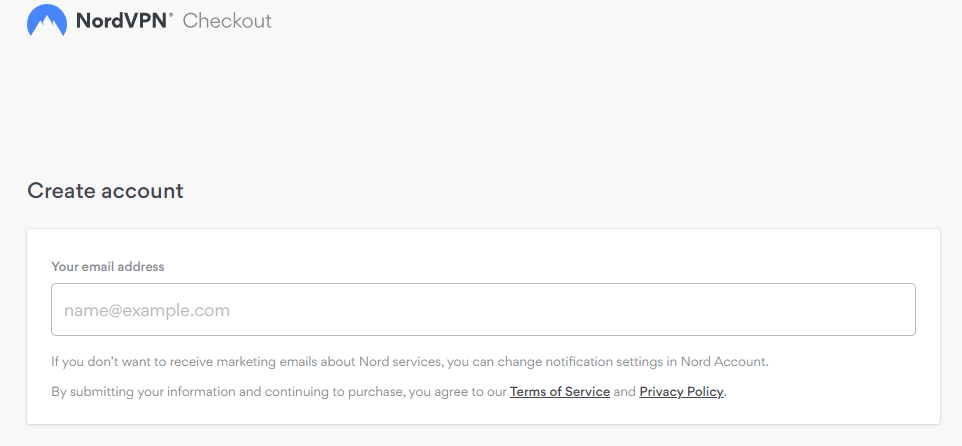
- Now you have to type your email adress that you will be using NordVPN with.
- Now you have to choose payment method which you want to use, and proceed with it.
- Well done! If you followed this guide nicely you purchased NordVPN subscription! Look at your email inbox, here you will find purchase confirmation email.
Now download NordVPN APP and start using it
After purchasing your VPN plan, head to this page to download the NordVPN app
Now you can click start and enjoy using VPN!
Click here to get the Best NordVPN Deal! 🔥Let’s get back to main question, Can You Put NordVPN On Chromebook?
First, make sure that your Chromebook is running the latest version of Chrome OS. Next, head over to the NordVPN website and sign up for a subscription. Once you’ve done that, download the NordVPN app for Chrome from the Google Play Store.
Once the app has been installed, launch it and log in with your account credentials. You should then see a map showing all of the available servers. Choose one that you want to connect to and click on the “Connect” button.
That’s it! Once you’re connected, you’ll be able to browse the web anonymously and securely with NordVPN.
Worth knowing
Worth knowing
First, you’ll need to sign up for a VPN service. We recommend ExpressVPN as they have servers in 94 countries and offer a fast and reliable service.
Once you’ve signed up for a VPN service, you’ll be given instructions on how to download and install the software. Follow the instructions carefully as each provider will have slightly different steps.
Once the software is installed, launch it and sign in with your account details. Next, connect to a server of your choice. We recommend choosing a server that’s close to your current location for the best connection speeds.
Now that you’re connected, all of your internet traffic will be routed through the VPN’s servers. This means that your IP address will be hidden and any restrictions placed on websites based on your location will be bypassed.
One last thing to note is that while most web browsers will work with a VPN without any issues, some apps may not function correctly if they’re trying to access region-locked content (e.g., Netflix). In these cases, you’ll need to use an app specific proxy which we’ll cover in another post soon!
Worth knowing
