Did you decide to purchase NordVPN? Do you wonder: Can I Install NordVPN On Xfinity Router?
In this article we will show you step by step how to make a purchase of new NordVPN subscription, set up account and start using NordVPN software! After guide we will answer some questions regarding using an VPN app.
Table of Contents
Here is how to purchase a NordVPN subscription
- Start by visiting NordVPN website, you can click here.
- Click on pricing tab at the top of the page, here you can see current plans, pricing and deals. Choose which NordVPN plan you prefer to purchase and then click “Get *name of the plan* button.
You can choose between standard plan (pure NordVPN service) or other plans that comes with NordPass or NordLocker services.
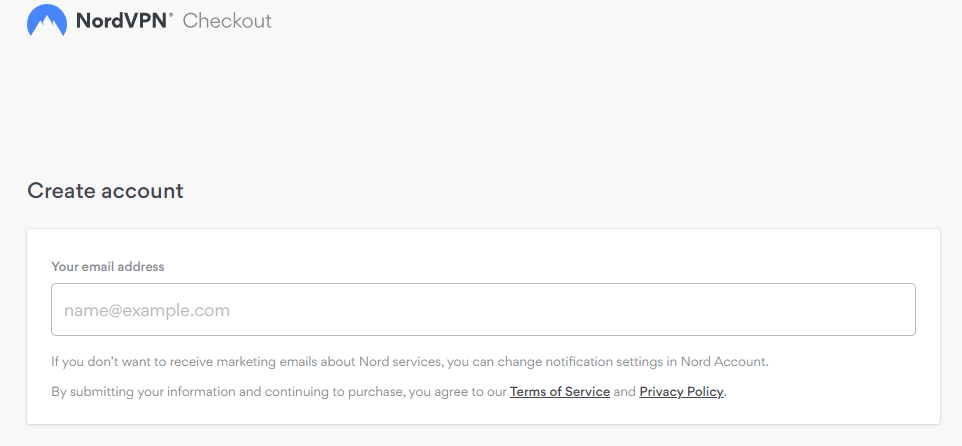
- Now you have to type your email adress that you will be using NordVPN with.
- Now you have to choose payment method which you want to use, and proceed with it.
- Well done! If you followed this guide nicely you purchased NordVPN subscription! Look at your email inbox, here you will find purchase confirmation email.
Now download NordVPN APP and start using it
After purchasing your VPN plan, head to this page to download the NordVPN app
Now you can click start and enjoy using VPN!
Click here to get the Best NordVPN Deal! 🔥Let’s get back to main question, Can I Install NordVPN On Xfinity Router?
Worth knowing
If you’re looking to install a VPN on your Arris router, the first thing you need to do is check if your router is compatible. Not all Arris routers can accommodate a VPN connection, so it’s important to check before you get started. Once you’ve confirmed that your router can take a VPN connection, the next step is deciding which protocol you want to use.
The two most popular protocols for VPN connections are OpenVPN and PPTP. Both have their own advantages and disadvantages, but OpenVPN is generally considered more secure while PPTP is faster and easier to set up. If security is your main concern, then we recommend using OpenVPN.
Once you’ve decided on a protocol, it’s time to find a reputable VPN service provider. There are dozens of options out there, so take some time to research your options and find one that suits your needs. We suggest reading reviews and checking out each provider’s website to make sure they offer everything you’re looking for (like 24/7 customer support).
Once you’ve found a provider and signed up for an account, setting up your Arris router with their software should be pretty straightforward. Most providers will have detailed instructions on their website outlining exactly how to do this. However, if you run into any trouble or have any questions along the way, don’t hesitate to reach out to customer support for help.
That covers everything! Once everything is set up properly ,you should be able enjoyed enhanced security and privacy whenever using the internet from home .
Worth knowing
Worth knowing
Before we begin, it’s important to note that not all TP-Link routers are VPN compatible. For this guide, we’ll be using the Archer C5400X – a high-end gaming router that comes with built-in support for popular VPN protocols (IPsec and OpenVPN). If you’re using a different TP-Link router, please consult the user manual to see if it supports VPNs.
With that said, let’s get started!
Step 1: Download Your VPN Software
The first thing you’ll need to do is sign up for a reputable VPN service. We recommend ExpressVPN – it offers fast speeds, strong security features, and comes with easy-to-use software for all major platforms (Windows, MacOS, iOS, Android).
Once you have an account set up, head over to the ExpressVPN website and download the appropriate software for your platform.
